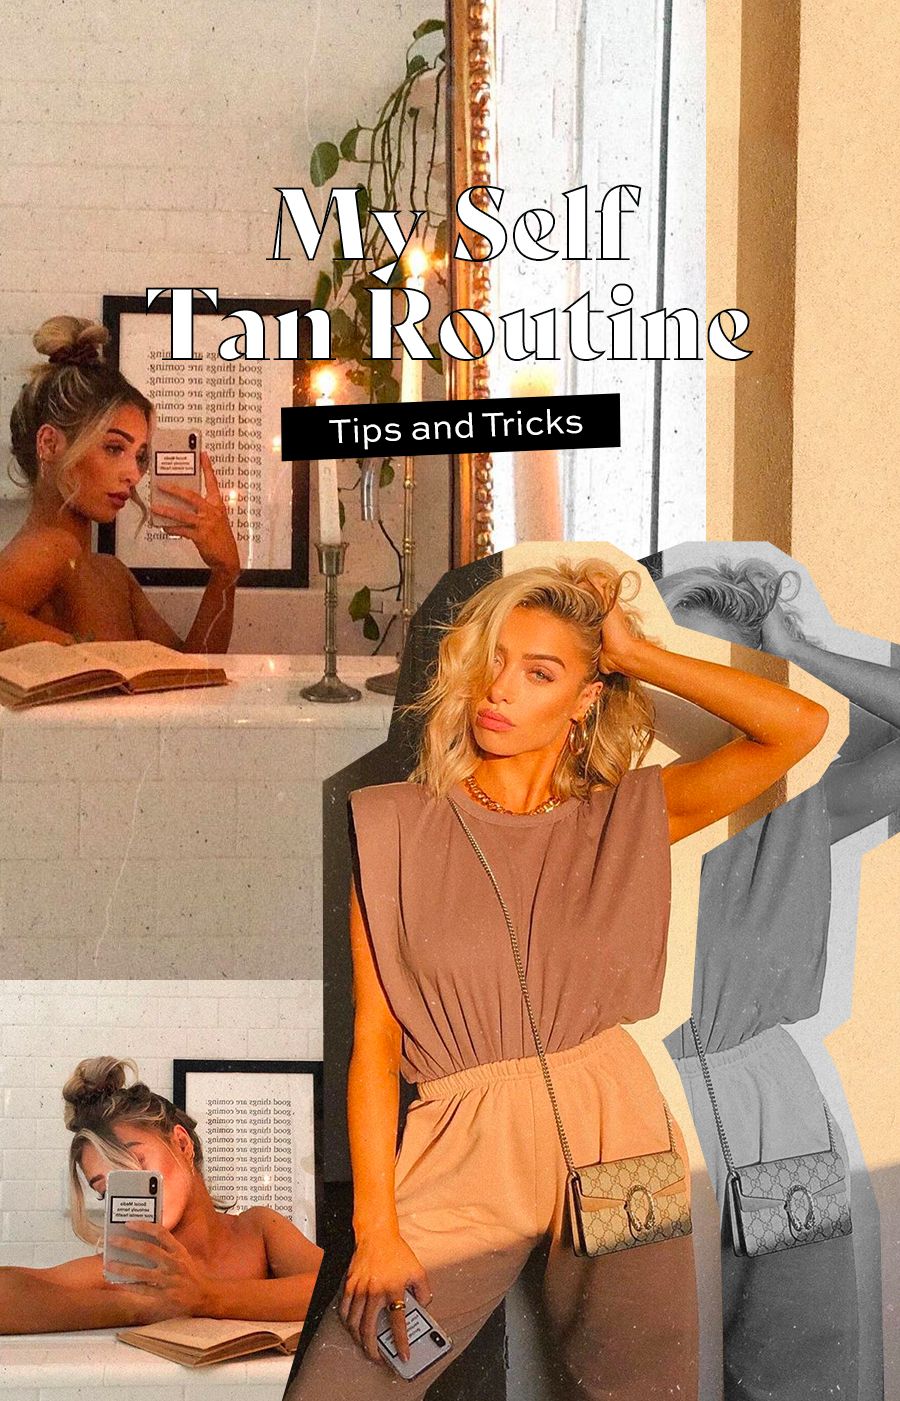

We all love having that sun-kissed glow in the summers. But no one loves the harmful effects and damage UV rays can do to your skin. Like sunburn, premature aging, dark spots, wrinkles, and leathery skin. For those reasons, I like to use self-tanner to maintain my tan in the summers (and year-round!). If you guys are avid self-tanners like me, you know that it’s pretty easy to mess up if you’re not careful. So I wanted to share with you guys my self-tan routine with some tips and tricks!
Shave the day before
If you’re planning to shave, do it the day before instead of right before you apply self-tanner. This will keep tiny droplets of self-tanner from building up in your pores (or follicles) where you just shaved.
Also try to avoid shaving right after you apply self-tanner because shaving actually exfoliates the outer layer of your skin. This will help your tan last longer!
Exfoliate
Self-tanner absorbs into dry skin. Which gives you those dark patches you don’t want! I like to exfoliate in the shower before I apply any self-tanner. Especially focusing on any rough parts like my ankles, knees, elbows, and heels. Avoid exfoliating with anything oil-based because it can leave behind residue that can cause streaks!
Dry off before you start
This one is obvious, but make sure you’re completely dry before you start applying self-tanner. After I get out of the shower, I towel off and wait about 10 minutes so I know that I’m 100% dry.
Moisturize any dry spots
You don’t want to be wet when you’re applying self-tanner, but you do need to put a little bit of moisture back onto your body. This will keep the self-tanner from absorbing into any dry patches and help blend your tan on tough areas. I like to rub some lightweight lotion on my knees, ankles, elbows, hands, and feet to keep them from turning too dark.
It’s all in the motion
Starting from the bottom of your body and working up makes all the difference. So starting with your ankles and legs and working your way up to your shoulders and arms. This prevents any weird marks when you bend over. It’s a small tip that gives you that sun-kissed glow versus a bad fake tan. Whether you use your hands or a mitt, make sure to rub in the self-tanner in circular motions with small amounts at a time!
Wash your hands right away
No one wants orange hands and wrists. Make sure to wash your hands and the inside of your wrists thoroughly with soap and water as soon as you’re done applying self-tanner.
Give yourself enough time
Self-tanner can take a few good hours to fully develop into the color you want. And those few hours are crucial! Not letting your tan completely dry after your initial application can transfer the self-tanner and stain your clothes and bedding. I like to wait at least 10 minutes to prevent that!
Spot-correct
Self-tanner mistakes happen, especially if you’re new to this. But here’s a good tip I wanted to share with you guys! If your tan ever turns out streaky or splotchy, rub half a lemon on the area for about 2 minutes and buff it with a damp towel. It’s a lifesaver!
If you got self-tanner in your cuticles, a Q-Tip dipped in nail polish remover will do the trick!
Avoid getting in the water
Try not to get wet or soak in any water for at least 8 hours after your initial application. This will help your tan settle and let the color fully develop. This includes swimming, showers, baths, and especially manicures and pedicures. You don’t want your hands and feet to look different than the rest of your body!
Moisture day and night
Self-tanner doesn’t last forever, but making sure your skin is moisturized will help prolong the color. I like to wash my body with a gentle body wash and moisturize with lotion as soon as I get out of the shower. And I make sure to stay moisturized throughout the day! This will also help your tan fade more naturally and prep your skin for the next time.

Leave a Reply